Broken Motor Mount, Sep 23, 2022

Heard a thunk earlier this week just after crossing a speed hump on my way to work. couldn’t figure it out but realized i had a log of chain slack & thought that the front sprocket was pulling too much when i twisted the throtlte. Turned out i was wrong … rather wrong. The actual problem was that the two of the motor mount rods had broken & the thunk was probably the sound of either one or both of them breaking and the motor mounting plate being pulled into the swing arm.

After tightening the chain up at the office i figured it was time to order a new chain and get on with life but onthe weekend when i went to take the chain off (after buying a new chain breaker since i can’t find the one i have & a new chain) i realized the actual problem was the motor mounts. Fortunately i still had a few left overs from the build to replace them without having to go buy new ones so it is back up and running again. Replacing has given me a bit of pause in terms of install and nut locations as i installed the motor first and now have to to deal with wrenching limitations due to battery, wiring, and accessory placement. Note the motor mount rods are 5/16″ all thread.

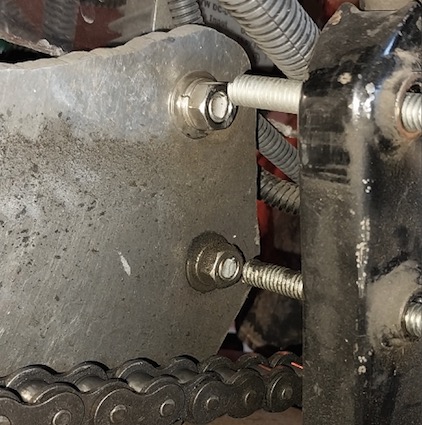
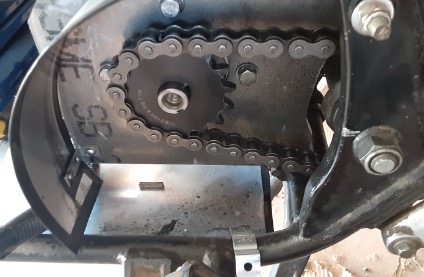
Picture of broken mounting bolts.

GL500i Right Cylinder Spark Problems, July 10, 2021

So a while ago I figured out I have spark problems on the right cylinder. Kind of odd as as soon as I pull the spark plug cap off by about an inch there is great spark. General theory is this is a sign of weak spark and there’s a weak point in the system … somewhere. Also seems to be a recurring mystery via CX/GL forums that new spark plugs, new coils, new caps, new cabling doesn’t seem to fix so it could be a general grounding matter with the whole system and not related.

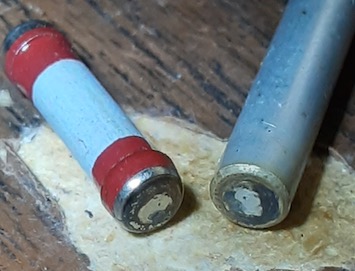
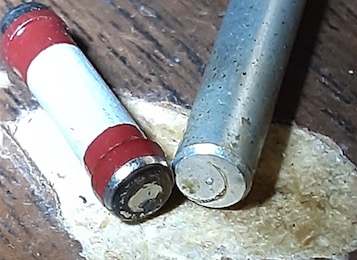
Anyway, I took the right spark cap off, took it apart, and cleaned it. Before and after pics below. The first time I put it back in it fired right up. Problem solved, I thought, thinking it just needed to be cleaned. Until I let it sit for a few days and tried again in the morning …. cold start … pull out about an inch and instant spark … Oh well, back to the drawing board as they say.

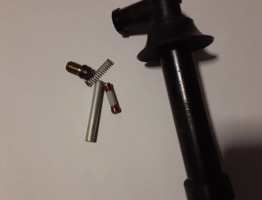
spark plug cap and interior pieces – set screw, resistor, metal spacing bar, and spring
resistor end and bar end before cleaning. thought this may have been too dirty to keep a clean connection but cleaning did not work as set normal and still sparks fine when pulling out about an inch
cleaned end of metal rod with sand paper, then resistor. worked like a charm the first time but not 2nd, will have to see going forward.

Sprocket Reinstall, June 12, 2021

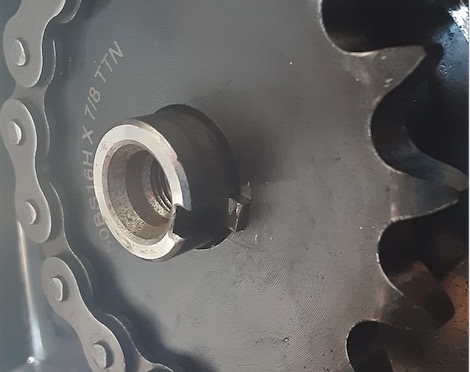
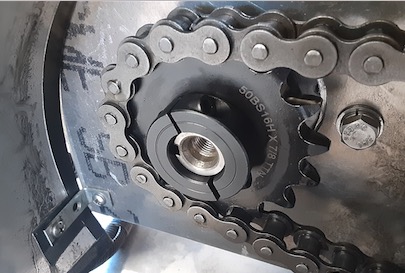
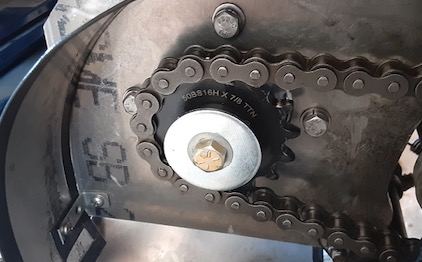
So I ended up ordering some more set screws and other pieces I thought I could use but ended up buying most of the pieces from Home Depot. End result? Used a double set screw for each location with locktite red, the 2nd screw to keep the first in place. Had to adjust the tire and take the chain off to work on it but that wasn’t too bad. Also added a collar lock tight against the sprocket to keep the sprocket from moving should the key find someway out again, which may be unlikely as I added an end cap to the shaft as it is a threaded 7/16-20 shaft. The concern with the shaft cap is that is clockwise to the view while the rotation is counterclockwise so it does have the potential to unscrew despite the additional locktite on it.

Was a bit surprised to find the key that fell out while riding sitting in the motor guard (put in to keep road items from bouncing up and hitting the bottom of the motor or sprocket).r
Re-installed key in keyway
Collar installed tight to sprocket
Shaft cap installed

Base Sprocket Cover, June 5, 2021

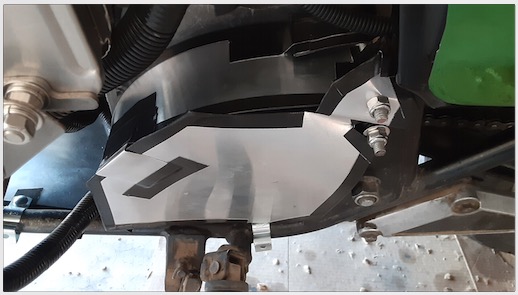
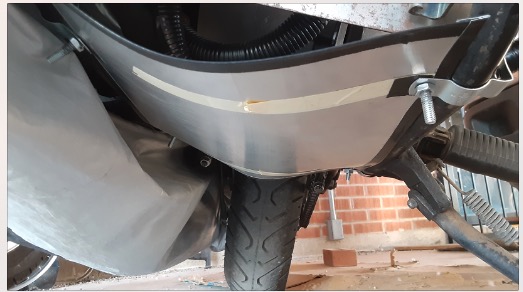
So finally got around to making a basic sprocket cover from an aluminum roll, replacing last week’s venerable card-board cover. Also swapped out the bottom cover to protect the motor from road debris. Haven’t decided if i will keep it or go with an acrylic side panel so the sprocket is visible.

Sprocket Cover, the black tape is to keep me from slicing my fingers up. Function before form.
Aluminum roll bottom cover, just to protect the motor from items kicked up by the front tire.

Engine Assemble! (September 9, 2013)

Started putting the engine back together today.  Made good progress until I went to tighten down the cam cover & was torquing the 1st bolt with my torque wrench.  Broke the bolt  … in the hole with the cover on and all other screws hand tightened.  New gasket installed with gasket tack.  Great.  Get to take it all the screws out tomorrow (just from the cam cover), buy an extractor set, and hope the gasket is quite reusable.

In better news it will be on to the carburetor after that.  hopefully later this week I can try putting it on & seeing if it starts again.  Without breaking any more bolts.