The Honda GL500i Lives, May 31, 2021

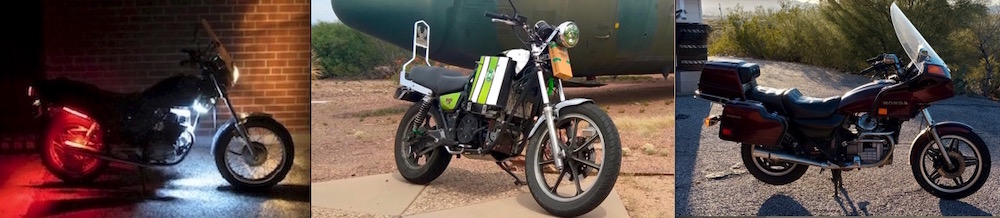
So while wrapping up some of the EV related items ( still have to cut the sprocket guard and bottom plate from sheet metal and ordered a 46T rear sprocket), I gave the Honda GL500i a bit of attention this morning.

Looking at some possible reasons it was running cold on the right cylinder (it is a 2 cylinder 500 cc engine) I made changes to the air filter, the carb knob below the carbs, and the right spark plug connection.

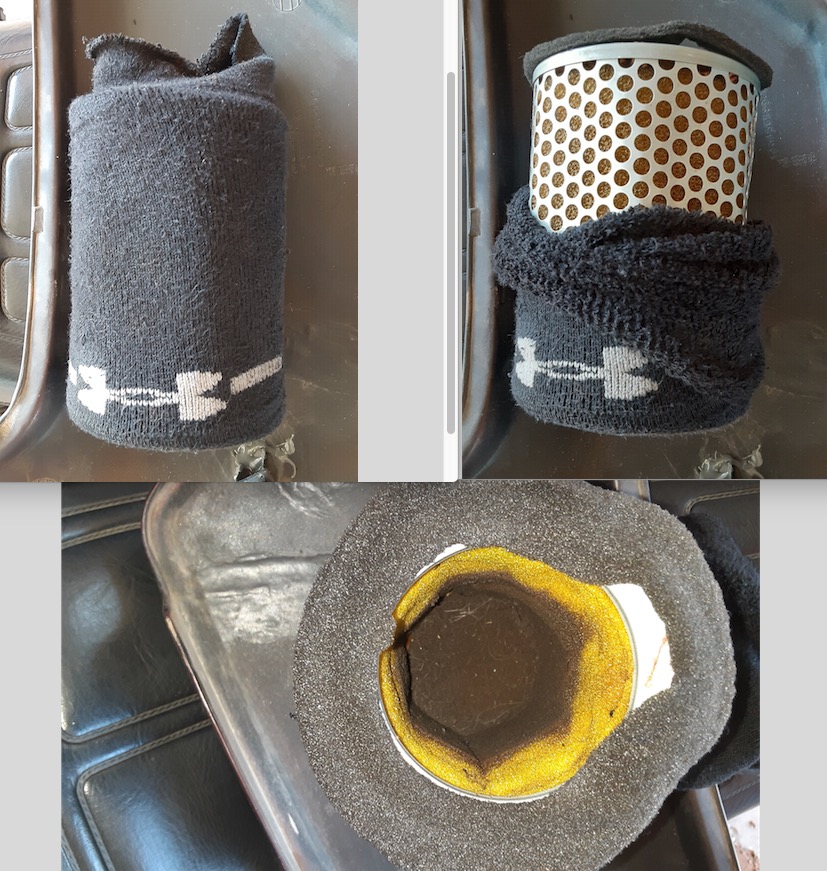
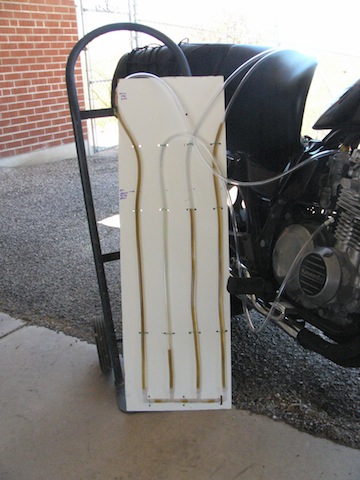
The air filter, pictured below, is a mess. Not sure which previous owner thought this was a good idea but the whole thing reeks of engine fumes. Ordered a new one today.

Adjusting the knob below the carbs allowed the motor to idle at a higher rpm without adjusting the choke. Nice. Even nicer when I pulled the spark plug connection out and as soon as i broke the connection, but had not removed the cable, spark was made and the right cylinder fired up as well. The engine sounds a lot better that way.

Was able to ride it up hill in my driveway twice before taking it down the street and around the neighborhood & then back up my driveway (steep and short ends). Just need to fix the fork seal leaks, the leak by the clutch pedal, and figure out what the rear leak is from. As it is a shaft drive the rear leak could be from the connection to the wheel though it is not obvious from just looking at the tire (but the leak is only evident on the bottom half of the tire).

Air filter installed when purchased from previous owner … nuff said. Ordered a new one.

Carburetor Hosed Boots (October 3, 2013)

So in order to avoid being known as “Bleeding Knuckles O’Leary” for my carburetor airbox work I figured replacing those 30 year old air boots would be a good idea.  Now a set of 4 of those things runs about $40 on ebay, or more, and there’s no guarantee used ones won’t be just as hard as the ones I already have.  New ones tend to be a bit more expensive but could be servicible if they haven’t been sitting on a shelf for a long time.  I generally prefer to avoid NOS (new old stock) items that have been sitting on a shelf due to previous experience with rubber products that look good but have structurally deteriorated due to non-use.

So what to do?  Google.  Found a video on youtube where a mechanic used a radiator hose, cut to fit of course, to connect his single carburetor to his air box.  Autozone carries a radiator hose of the appropriate diameter and long enough to cut into 4 pieces for $10.  Just remove the inner support coil, measure twice, cut once, and then fight the install.

What did I just learn?  The airboots on my bike aren’t actually the same size.  They look like it in the pictures but the two outside ones are 47 mm diamter and the inside two are 39 mm in diamter.  Stupid engineer who designed this ….

20131003_radiatorhoseboot_5749

20131003_radiatorhoseboot_5750

Air Bending Boots (September 28, 2013)

One of the problems with working with 30 year old bikes is working with 30 year old rubbers.  Note that said 30 year old rubbers tend to harden, and shrink, so they no longer fit right and are a pain in the nether parts to remove and reinstall.  One method of softening the hard rubber air boots that join the carburetors to the air box is to blow hot air on them with a hair dryer.  This will soften them, i.e. make them flexible, so they are easier to install.  Unfortunatley they only retain the flexibily while they are warm.  As they cool down while you are trying to install them they will stiffen up and be next to impossible to install without using the hair dryer outside and holding it with the 3rd arm and hand you had to grow through evolution just for this purpose.

20130928_airboots_5578

Carb Flap Fix (September 25, 2013)

Waited over night for the JB weld to dry.  The flaps came out good & except for #3 installed well.  Note to Self:  Do not cover thin silver flexible strip and ballbearing on back with JB weld.  This needs to flex as the flap slides down and into the carb body.  Had to cut out the extra JB weld so it would operate properly.

20130925_flapsfixed

Carb Assembly (September 23, 2013)

Finished putting the cylinder head, camshafts, chain, and cover back on yesterday & am now putting the carbs back together.  Bowls floats and needles have been cleaned and reinstalled so now I just need to finish the top end.  Working on the missing flaps on the slides & am wondering if I should even bother installing the slides.  It’s not like they’re really needed in the first place when they have holes in them.  But, just to give it a shot, I took a couple of picture frame holders and snapped them down to the right size and put them in the slides & have them held in place by the existing springs.  See picture.  Now how to keep them there?  J&B weld.  Covered over them on both sides & am waiting for it to dry so I can sand any rough edges down.  In the meantime what to do?  Go to autozone & buy some motorcycle oil … tomorrow.  Reinstall everything on Wednesday after the J&B weld has had the proper drying time and is checked for fit …

Note in the picture the middle two slides have the replacement flaps.  Outside two are the originals.  Pre-J&B weld.  Pics of the J&B weld fit tomorrow ….


20130923_kz550_carbflaps

Balancing the Carbs (May 24, 2012)

Somehow got it in my head that making a home made anemometer to sync my carbs was a good idea.  In principle this will work if the fluid you’re using is a) heavy enough, and b) your carbs aren’t so out of balance that when you turn the bike back on the cylinder with the most vacuum sucks the fluid right into the engine.

Ended up just buying a set of 4 gauges online for about $65.  Works fine & easy to use.  But for kicks, this was the “home made $1.50 carb sync tool” you can find on the internet.

20120524_homemademanometer_0061