Broken Motor Mount, Sep 23, 2022

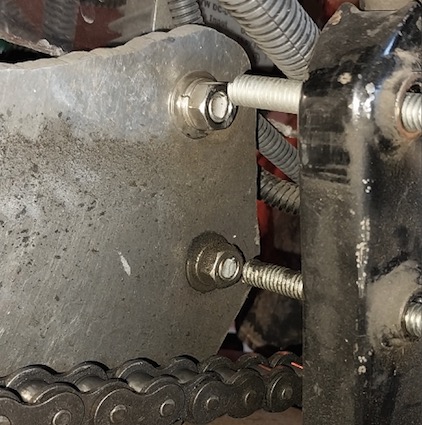
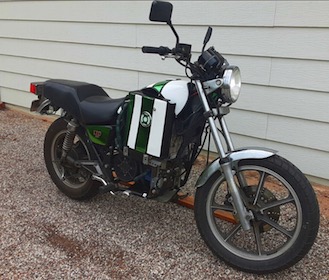
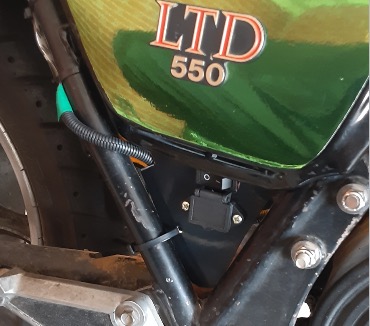
Heard a thunk earlier this week just after crossing a speed hump on my way to work. couldn’t figure it out but realized i had a log of chain slack & thought that the front sprocket was pulling too much when i twisted the throtlte. Turned out i was wrong … rather wrong. The actual problem was that the two of the motor mount rods had broken & the thunk was probably the sound of either one or both of them breaking and the motor mounting plate being pulled into the swing arm.

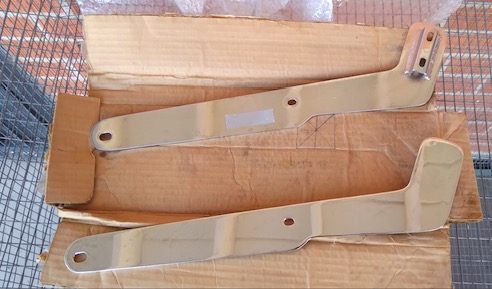
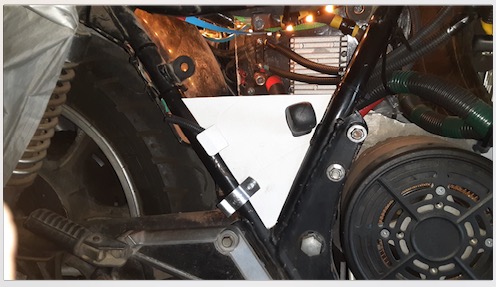
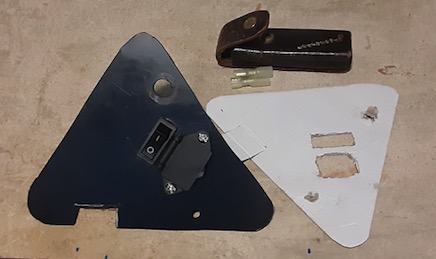
After tightening the chain up at the office i figured it was time to order a new chain and get on with life but onthe weekend when i went to take the chain off (after buying a new chain breaker since i can’t find the one i have & a new chain) i realized the actual problem was the motor mounts. Fortunately i still had a few left overs from the build to replace them without having to go buy new ones so it is back up and running again. Replacing has given me a bit of pause in terms of install and nut locations as i installed the motor first and now have to to deal with wrenching limitations due to battery, wiring, and accessory placement. Note the motor mount rods are 5/16″ all thread.

Picture of broken mounting bolts.

New Charging Port, Nov 21, 2021

Had some trouble with the cutoff switch staying in place in the original charger port on/off switch and location so i bought a new switchable C14 port for charger use. This piece is fused and good up to 240v and 10 amps. a bit overkill for my 72v system but i like the idea of the charging port not being live all of the time.

Picture of the new charging connection (C14 style) along with the 2-point mounting bracket that fits under the right side panel.

Passenger Side Fair Accents, September 26, 2021

Having finally got the tank back from the shop, and having to smooth out bubbles in the chrome green wrap (i was not charged for the tank wrapping), it was time to start the accents on the fairings. Note that whilte the side panel green appears to be different these are the same color and come from the same roll of vinyl wrap.

Passenger side view
Passenger side view full
Passenger side front view

Changing Charger Connections, September 11, 2021

So after a few months of using the SAE connection on the charger there’re a few shortfalls I figure I need to change connection type to address.

First problem was having the rubber protective cover to put over then ends slide off sometimes. Not really a big deal if the end of the cable is on the ground but not really good if the end is above the batteries and the exposed metal touches frame or battery metal.

Second problem was noticing that every time I plug it in there’s a spark between when the metal connectors meet.

Third problem is that the SAE connectors are only rated for 30 amps at 12v/24v, not for 30 amps or even 10 amps at 84v, which is the charging voltage. While the connectors held when charging at 10 amps, and the batteries charged faster, the plastic/rubber ends became soft and really warm to touch. When charging at 5 amps the plastic/rubber ends become really warm, but not melty warm.

The C13/C14 connectors are rated for 10 amps at 250V so not thinking there should be a problem using in this application as the 5/10 amp charger came with one with 16 ga leads to use as an adapter to other connectors – and unlike the SAE connectors it did not get melty warm when charging at 10 amps or even warm when charging to 5 amps.

SAE connector with rubber cover, meet Mr. Melty Connector
C14 male connector to mount on bike somewhere and C13 female adapter placed on charging cable direct
Finished connector beside open connector pictured by male C14 plug to be installed on bike

Updated Charging Port, September 11, 2021

As the SAE solar type connection limited charging to 5 amps I finally got around to upgrading the charging port to a standard C14 connector. This allows me to use any standard C13/C14/C15 extension cable from my chargers and to easily make a female connector for any future charger. The C14/C15 port is rated for 10 amps at 240 volts so it should handle 10 amps at 84 volts fine (it does, the SAE connectors become melty when charging at 10 amps as they are only rated for 30 amps at 24v max, or 8 amps at 84 volts).

installed charging port with spring cover and on/off switch
installed charging port with cover open
template fitting, screwdriver is in side panel mount hole
mounting bracket in ABS along with cardboad template

GL500i Right Cylinder Spark Problems, July 10, 2021

So a while ago I figured out I have spark problems on the right cylinder. Kind of odd as as soon as I pull the spark plug cap off by about an inch there is great spark. General theory is this is a sign of weak spark and there’s a weak point in the system … somewhere. Also seems to be a recurring mystery via CX/GL forums that new spark plugs, new coils, new caps, new cabling doesn’t seem to fix so it could be a general grounding matter with the whole system and not related.

Anyway, I took the right spark cap off, took it apart, and cleaned it. Before and after pics below. The first time I put it back in it fired right up. Problem solved, I thought, thinking it just needed to be cleaned. Until I let it sit for a few days and tried again in the morning …. cold start … pull out about an inch and instant spark … Oh well, back to the drawing board as they say.

spark plug cap and interior pieces – set screw, resistor, metal spacing bar, and spring
resistor end and bar end before cleaning. thought this may have been too dirty to keep a clean connection but cleaning did not work as set normal and still sparks fine when pulling out about an inch
cleaned end of metal rod with sand paper, then resistor. worked like a charm the first time but not 2nd, will have to see going forward.

EV 5 amp/10 amp charger, July 10, 2021

So my Amazon purchased 5 amp/10 amp charger finally arrived from China direct after 3 weeks. No complaints or knocks on China, seems to be a good product & does what it is supposed to do. So far I have only used it to charge on 10 amps & it really cuts down my charge time. Charging with my 3 amp charger could take 11 hours for a similar charge level – this one takes about 3.5 hours.

The interesting part is trying to see what charge level the battery settles to after a couple of days of having been charged to its theoretical maximum (82 V or slightly higher). The batteries are all used Nissan Leaf Gen 1 versions so there’s a known decrease in performance in higher heat days and a noticeable increase in performance on cooler days.

10 amp charger in action, set on a brick to help keep ground level dust out of the cooling fan
Cleverly disguised as an on/off switch this is actually a low / high charge rate switch. low charge rate (5 amps) is on the left and high charge rate (10 amps is on the right.