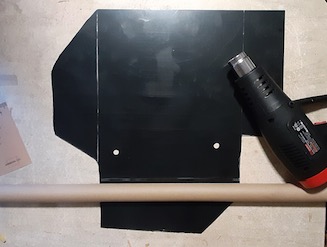
Finished the first version of the battery cover fairings. Straight black for now but will probably add some accent coloring soon.
Made these from 1/16″ inch ABS, a utility knife, heat gun, and wrapping paper roll.
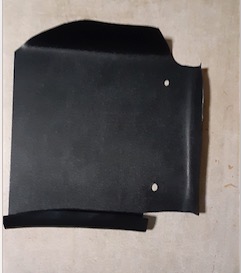

Finished the first version of the battery cover fairings. Straight black for now but will probably add some accent coloring soon.
Made these from 1/16″ inch ABS, a utility knife, heat gun, and wrapping paper roll.
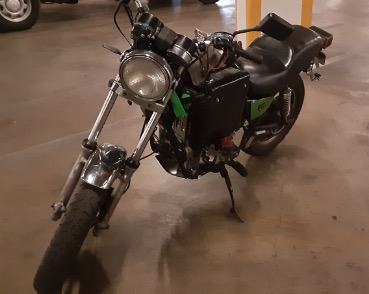
So I was sitting on the bike back on June 19 & feeling that satisfied feeling that you’ve fixed just about everything and you’re ready to roll, then something else happens. The something else was that as I sat on the bike with it running, on centerstand of course, I look down and there’s a puddle of something oozing its way towards my electric bike & charger. Not knowing what this is I turn off the bike, get down and stick my finger in this puddle. Not being careful I also use my left arm instead of my right and promptly burn my arm on the exhaust pipe. duh. Hot pipe = Hot, and Hot is hotter than the Arizona sun …
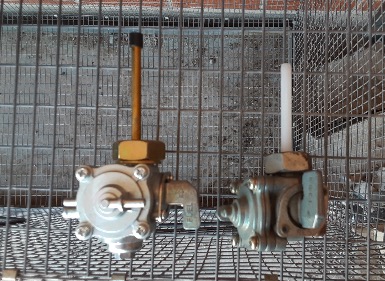
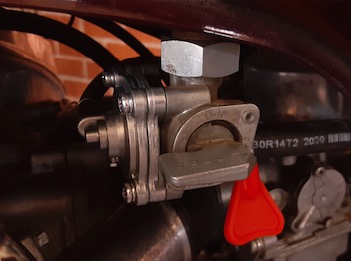
Turns out the puddle is gasoline … hmm … why is there gas coming out the bottom of my engine somehwere … ? Time to call it a day & look again next week … so, that was fast. Here we are next week , July 26, 2021. Sunny day, full of oxygen and carbon dioxide in the air, wonderful morning. Start the bike up again, wait for the gas to come out hte bottom, figure out it is coming from a small diameter black tube, trace it back to the … petcock? Really? What the heck? okay, there’s an overflow on the petcock. What’s it for? When does it leak? It is there to relieve gas build up when the diaphragm in the petcock ruptures …. great.
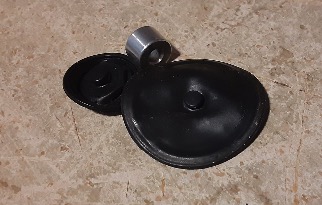
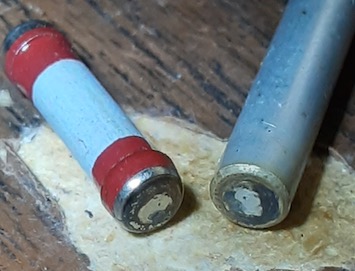
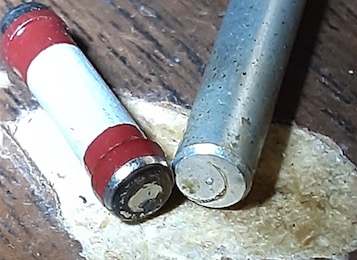
So … turns out the diaphragm is not flat, or spherical, it is round with a knob on each side, has a metal section in the middle, and another rubber side with a knob in the middle. See pictures below. Amazon/Ebay/the entire internet do not have rebuild kits specifically listing this model so what do I do? I spend $34 buying a new compatible full petcock. Not a bad idea as once i went to install it i found out the vacuum, relief, and output all face the wrong way compared to the current install. What good news is there? Well, the replacement petcock diaphragm section is the same as the existing one from 1981 … so i take it off and put it on the original … and it fits like a glove. Problem solved, now the inputs and output face the proper direction and i have a spare section so i can peruse the internet for similar looking pieces going forwards.

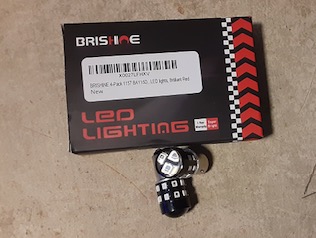
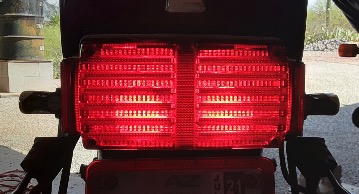
Took out the rather week inandescent rear bulbs, the ones in the brake/running light housing, and replaced with LEDs. Man are these things bright. No mistaking when the bike is on or when the brakes are being applied. Ordered from Amazon & prime delivery.
So a while ago I figured out I have spark problems on the right cylinder. Kind of odd as as soon as I pull the spark plug cap off by about an inch there is great spark. General theory is this is a sign of weak spark and there’s a weak point in the system … somewhere. Also seems to be a recurring mystery via CX/GL forums that new spark plugs, new coils, new caps, new cabling doesn’t seem to fix so it could be a general grounding matter with the whole system and not related.
Anyway, I took the right spark cap off, took it apart, and cleaned it. Before and after pics below. The first time I put it back in it fired right up. Problem solved, I thought, thinking it just needed to be cleaned. Until I let it sit for a few days and tried again in the morning …. cold start … pull out about an inch and instant spark … Oh well, back to the drawing board as they say.

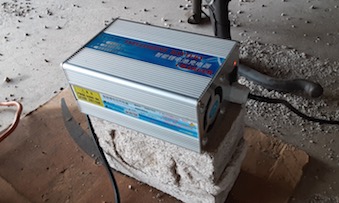
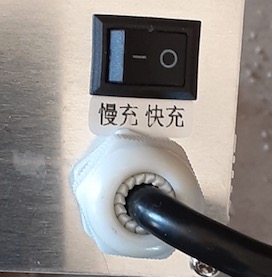
So my Amazon purchased 5 amp/10 amp charger finally arrived from China direct after 3 weeks. No complaints or knocks on China, seems to be a good product & does what it is supposed to do. So far I have only used it to charge on 10 amps & it really cuts down my charge time. Charging with my 3 amp charger could take 11 hours for a similar charge level – this one takes about 3.5 hours.
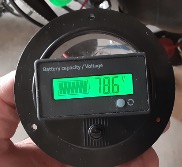
The interesting part is trying to see what charge level the battery settles to after a couple of days of having been charged to its theoretical maximum (82 V or slightly higher). The batteries are all used Nissan Leaf Gen 1 versions so there’s a known decrease in performance in higher heat days and a noticeable increase in performance on cooler days.
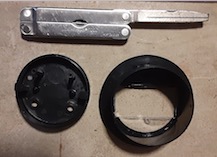
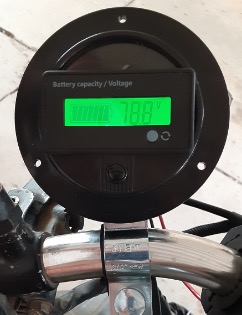
So I didn’t really care for the rectangular container for the voltmeter & haven’t been able to find a round digital one of the size and type I want. So … what to do? Make your own case, came the reply from nowhere. So I did.
Started with a previous bad voltmeter, took the screws out, took the guts out, took a drill and a leatherman to the front of it after tracing the bottom of my voltmeter with a sharpie, and then installed. Note that a sharpie is not the best tool for marking on plexiglass.