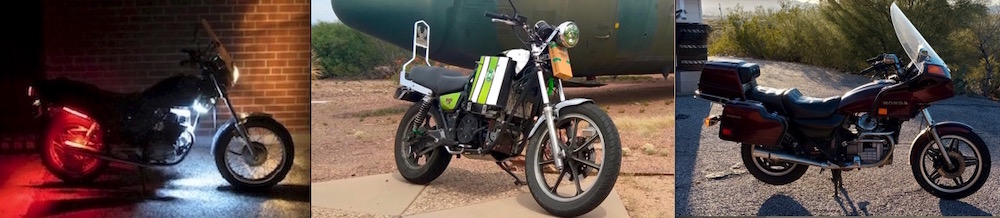
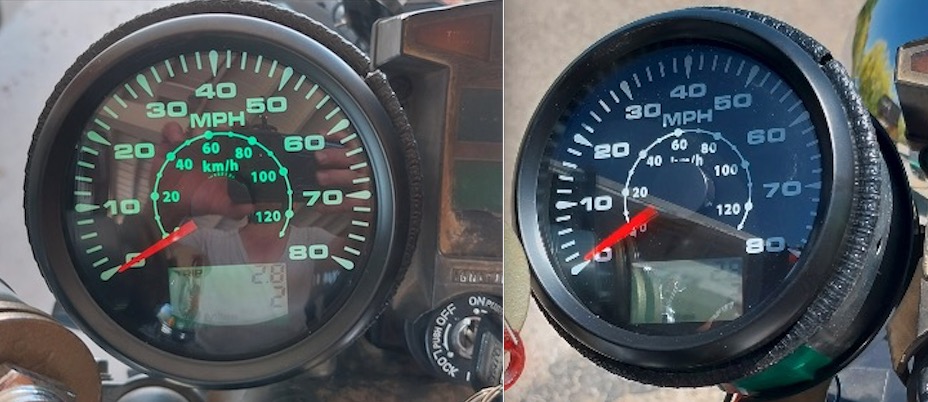
Got tired of hearing my original mechanical speedometer whirr … grind … whirr … clack … no beeping though so I replaced it with one of those new fangled GPS speedometers, complete with accessory antenna. The good, it works, it is backlit (changed it to green), and installed very easy. The bad, it restarts my odometer count as like any odometer net mileage can’t be changed to falsify mileage and it only shows total miles in whole numbers (at least by default).
Picture on left is in shade. Picture on right is in daylight. Easy to see with and without sunglasses.
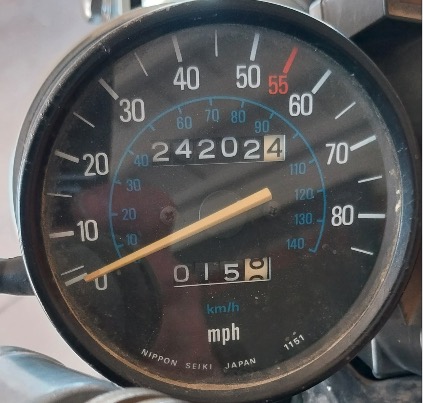
Last mileage, 24202.4 miles, before changing to new speedometer.
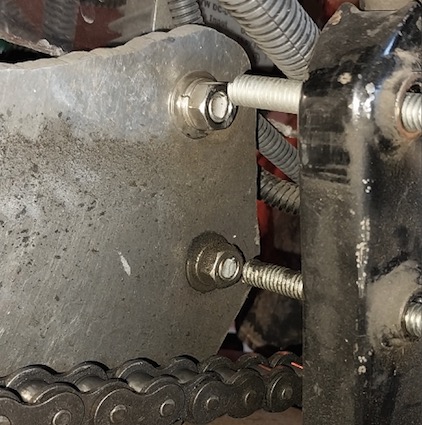
Heard a thunk earlier this week just after crossing a speed hump on my way to work. couldn’t figure it out but realized i had a log of chain slack & thought that the front sprocket was pulling too much when i twisted the throtlte. Turned out i was wrong … rather wrong. The actual problem was that the two of the motor mount rods had broken & the thunk was probably the sound of either one or both of them breaking and the motor mounting plate being pulled into the swing arm.
After tightening the chain up at the office i figured it was time to order a new chain and get on with life but onthe weekend when i went to take the chain off (after buying a new chain breaker since i can’t find the one i have & a new chain) i realized the actual problem was the motor mounts. Fortunately i still had a few left overs from the build to replace them without having to go buy new ones so it is back up and running again. Replacing has given me a bit of pause in terms of install and nut locations as i installed the motor first and now have to to deal with wrenching limitations due to battery, wiring, and accessory placement. Note the motor mount rods are 5/16″ all thread.
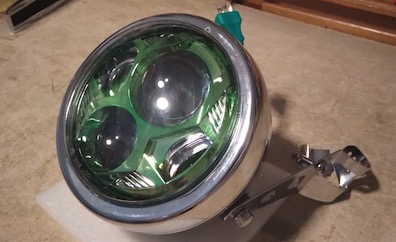
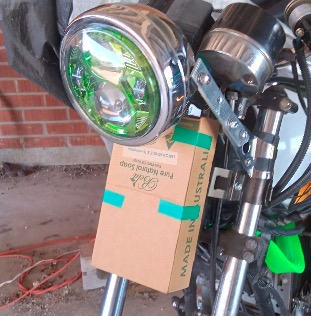
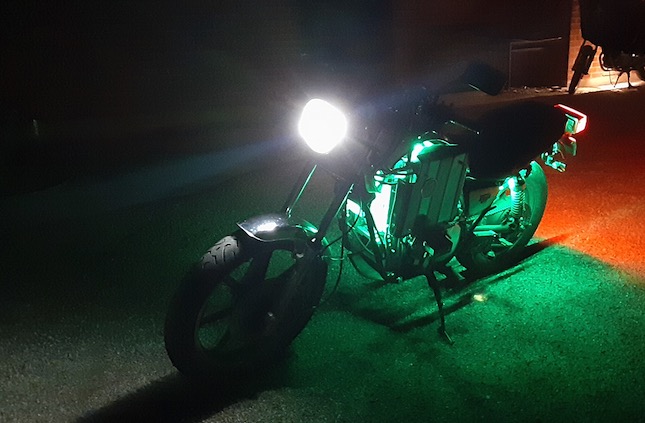
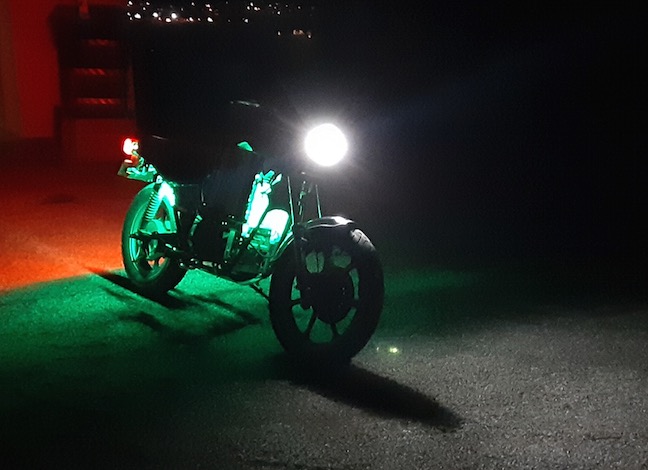
Had an ongoing issue with the H4 bulb in the after market bucket (the original headlight for this bike is a sealed beam unit) where the bulb was always on high beam. Solution? trouble shoot or replace. I opted to replace with one of those cool looking, hopefully not blinding, after market LED headlights.
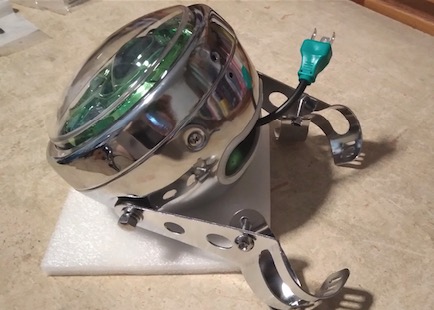
While losing space for the wiring harness within the bucket (it was a tight fit anyway) it was easy to install a wiring box from a Honda GL500 (thank you ebay) and put a temporary cover on it. well, it is supposed to be a temporary cover … though i did need a headlight extension cable & just bought one instead of making one.
Also lost the place my front blinky things were mounted so i’m awaiting a set of fork blinker mounts to arrive (also thank you Amazon) & will install those next weekend.
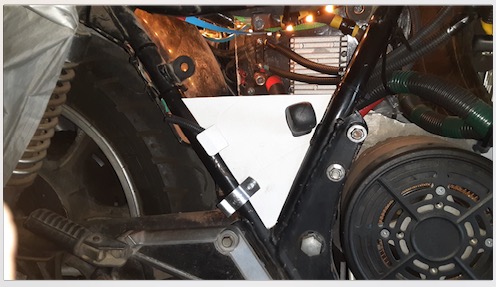
Had some trouble with the cutoff switch staying in place in the original charger port on/off switch and location so i bought a new switchable C14 port for charger use. This piece is fused and good up to 240v and 10 amps. a bit overkill for my 72v system but i like the idea of the charging port not being live all of the time.
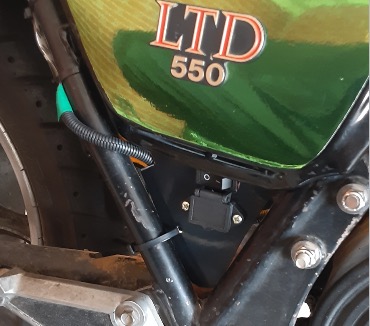
Picture of the new charging connection (C14 style) along with the 2-point mounting bracket that fits under the right side panel.
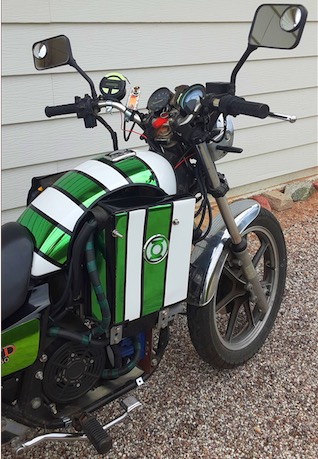
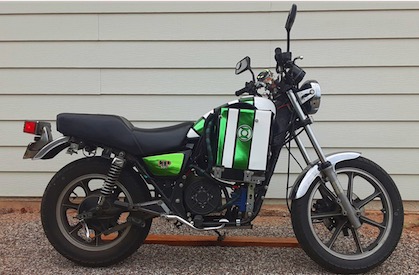
Having finally got the tank back from the shop, and having to smooth out bubbles in the chrome green wrap (i was not charged for the tank wrapping), it was time to start the accents on the fairings. Note that whilte the side panel green appears to be different these are the same color and come from the same roll of vinyl wrap.
So after a few months of using the SAE connection on the charger there’re a few shortfalls I figure I need to change connection type to address.
First problem was having the rubber protective cover to put over then ends slide off sometimes. Not really a big deal if the end of the cable is on the ground but not really good if the end is above the batteries and the exposed metal touches frame or battery metal.
Second problem was noticing that every time I plug it in there’s a spark between when the metal connectors meet.
Third problem is that the SAE connectors are only rated for 30 amps at 12v/24v, not for 30 amps or even 10 amps at 84v, which is the charging voltage. While the connectors held when charging at 10 amps, and the batteries charged faster, the plastic/rubber ends became soft and really warm to touch. When charging at 5 amps the plastic/rubber ends become really warm, but not melty warm.
The C13/C14 connectors are rated for 10 amps at 250V so not thinking there should be a problem using in this application as the 5/10 amp charger came with one with 16 ga leads to use as an adapter to other connectors – and unlike the SAE connectors it did not get melty warm when charging at 10 amps or even warm when charging to 5 amps.
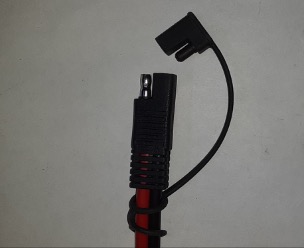
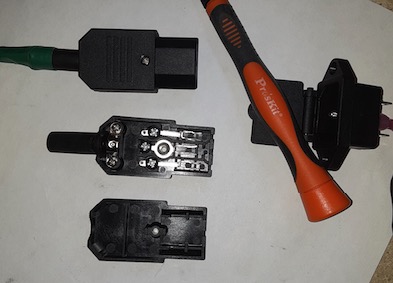
SAE connector with rubber cover, meet Mr. Melty Connector
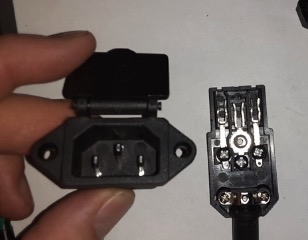
C14 male connector to mount on bike somewhere and C13 female adapter placed on charging cable direct
Finished connector beside open connector pictured by male C14 plug to be installed on bike
As the SAE solar type connection limited charging to 5 amps I finally got around to upgrading the charging port to a standard C14 connector. This allows me to use any standard C13/C14/C15 extension cable from my chargers and to easily make a female connector for any future charger. The C14/C15 port is rated for 10 amps at 240 volts so it should handle 10 amps at 84 volts fine (it does, the SAE connectors become melty when charging at 10 amps as they are only rated for 30 amps at 24v max, or 8 amps at 84 volts).
installed charging port with spring cover and on/off switch
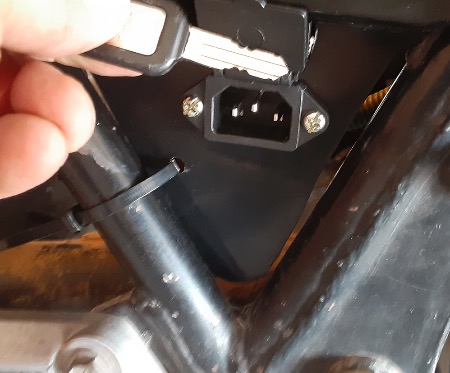
installed charging port with cover open
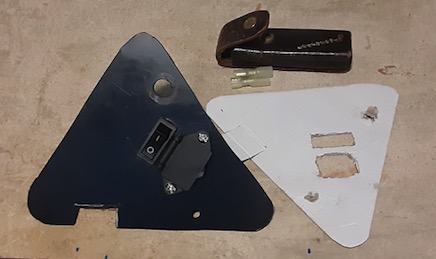
template fitting, screwdriver is in side panel mount hole
mounting bracket in ABS along with cardboad template