New Speedometer, May 14, 2023

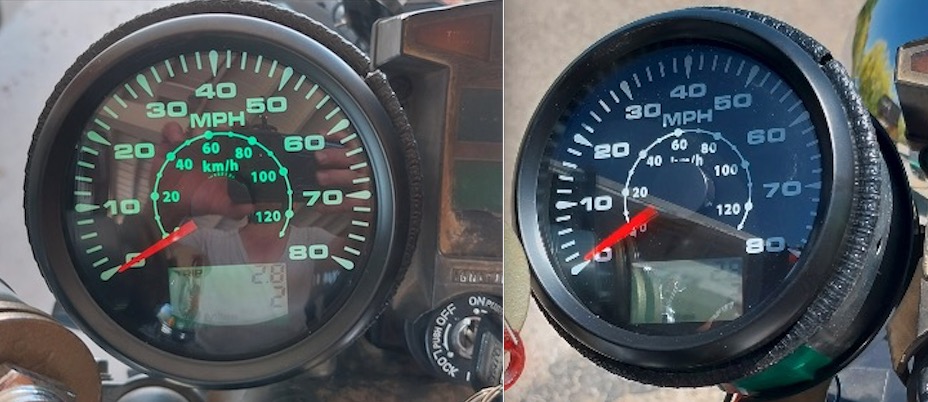
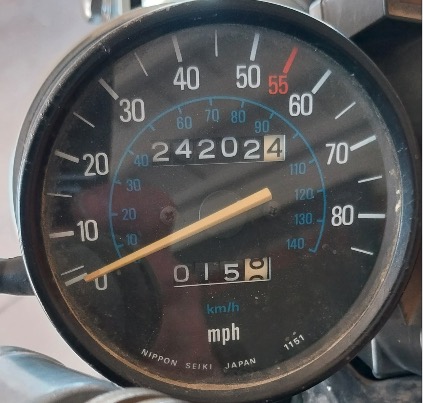
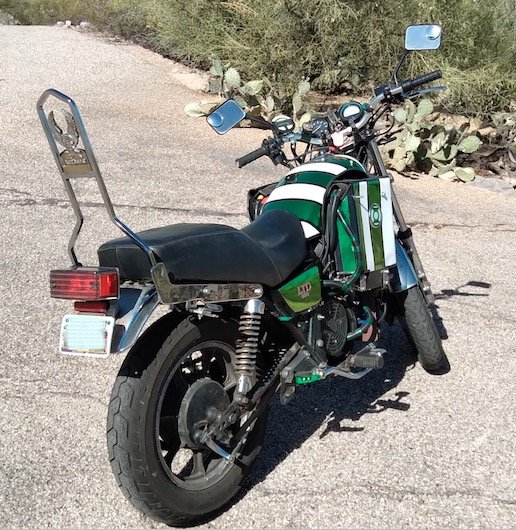
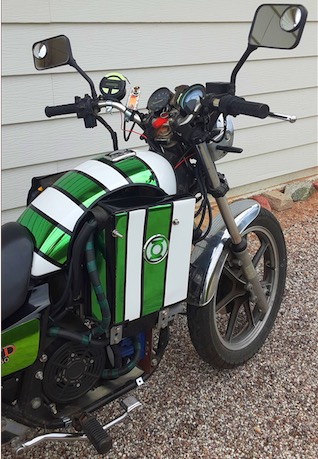
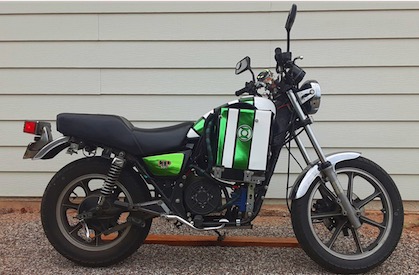
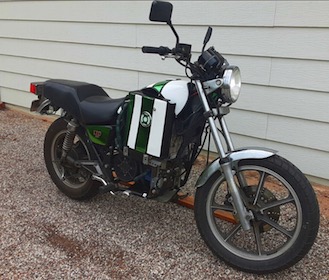
Got tired of hearing my original mechanical speedometer whirr … grind … whirr … clack … no beeping though so I replaced it with one of those new fangled GPS speedometers, complete with accessory antenna. The good, it works, it is backlit (changed it to green), and installed very easy. The bad, it restarts my odometer count as like any odometer net mileage can’t be changed to falsify mileage and it only shows total miles in whole numbers (at least by default).

Picture on left is in shade. Picture on right is in daylight. Easy to see with and without sunglasses.
Last mileage, 24202.4 miles, before changing to new speedometer.

Custom Sissybar Insert March 18, 2023

So after losing my classic bronze Kawasaki sissybar insert I figured I’d go about making one. or two. or more. Haven’t decided where to stop yet but am thinking access to a plasma cutter would allow a bit more metal creativity. In the meantime I used a laser engraver/cutter (Atomstack P9-M40) to cut a basic design (a front and a back) from some basswood, placed a couple of pieces of translucent white abs and green acrylic in between, and then painted the wood with some Posca paint pens. Also gives me the idea to make some like this for a regular stand with some back lighting to make the acrylic shine.

Initial mounting. Going to make some narrower ones to stream line the look a bit and also give it a clear coat.

Sissybar Insert Broken, Jan 14, 2023

So I went to do a routine check as i had not ridden due to weather and noticed my sissybar insert is missing the top part. How did this happen? Not really sure …. but I did lay the bike down to avoid a collision back in December but did not notice it after standing the bike back up (yes, it was dark at the time). Maybe it was weakened from the impact & fell off later while I was riding it …

Picture of Broken Sissybar Insert
Picture of Broken Sissybar Insert Top View

Passenger Side Fair Accents, September 26, 2021

Having finally got the tank back from the shop, and having to smooth out bubbles in the chrome green wrap (i was not charged for the tank wrapping), it was time to start the accents on the fairings. Note that whilte the side panel green appears to be different these are the same color and come from the same roll of vinyl wrap.

Passenger side view
Passenger side view full
Passenger side front view

Updated Charging Port, September 11, 2021

As the SAE solar type connection limited charging to 5 amps I finally got around to upgrading the charging port to a standard C14 connector. This allows me to use any standard C13/C14/C15 extension cable from my chargers and to easily make a female connector for any future charger. The C14/C15 port is rated for 10 amps at 240 volts so it should handle 10 amps at 84 volts fine (it does, the SAE connectors become melty when charging at 10 amps as they are only rated for 30 amps at 24v max, or 8 amps at 84 volts).

installed charging port with spring cover and on/off switch
installed charging port with cover open
template fitting, screwdriver is in side panel mount hole
mounting bracket in ABS along with cardboad template