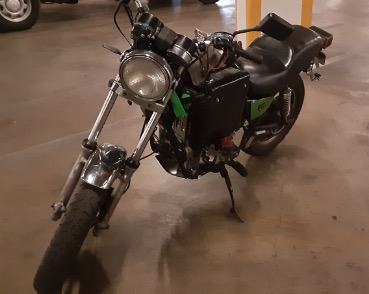
Still trying to decide which LED headlight bulb is best so took a few more night pictures with the accent lights on.
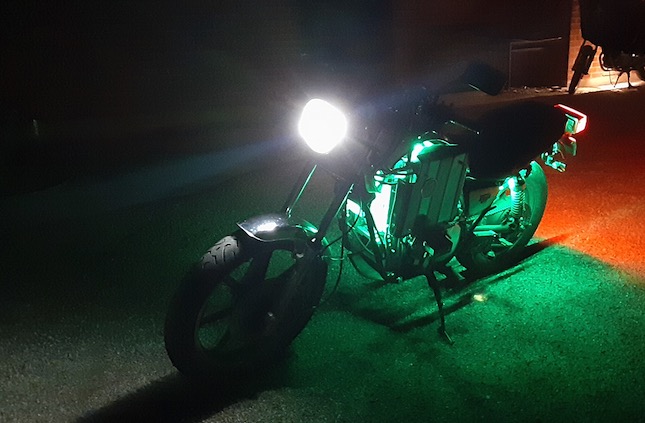
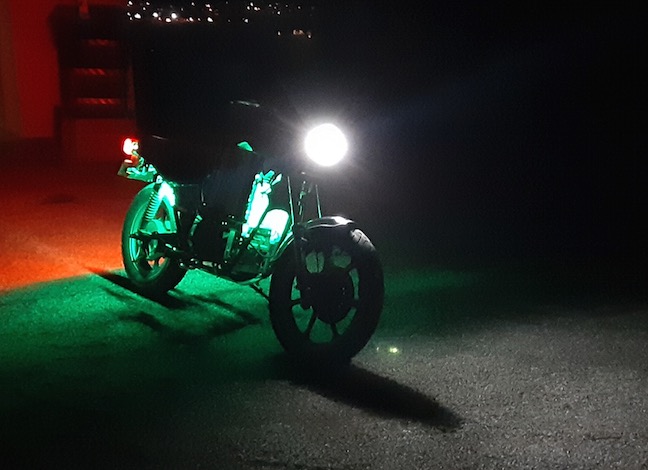

Still trying to decide which LED headlight bulb is best so took a few more night pictures with the accent lights on.
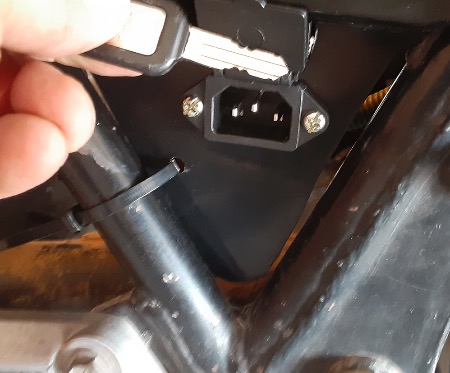
Had some trouble with the cutoff switch staying in place in the original charger port on/off switch and location so i bought a new switchable C14 port for charger use. This piece is fused and good up to 240v and 10 amps. a bit overkill for my 72v system but i like the idea of the charging port not being live all of the time.
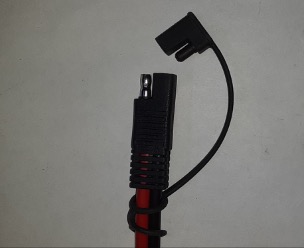
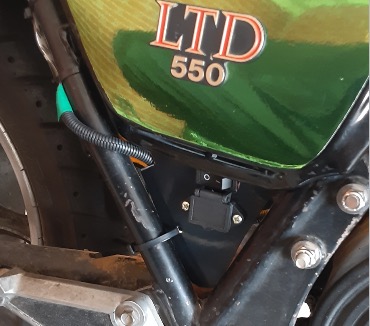
Picture of the new charging connection (C14 style) along with the 2-point mounting bracket that fits under the right side panel.

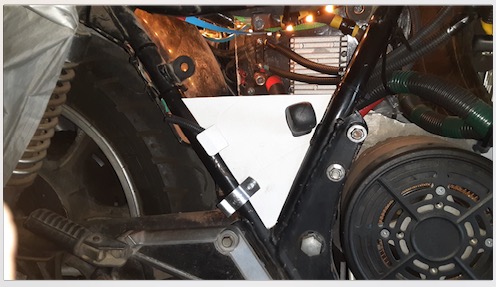
Got tired of dealing with the mounting style of the 12v DC-to-DC converter so i changed it to a more flush-mount type.
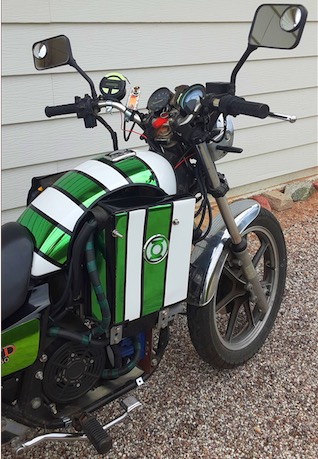
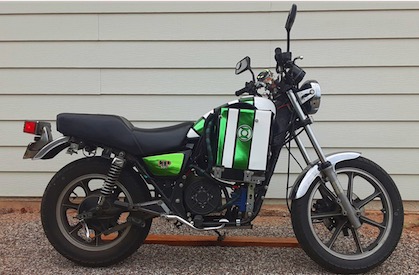
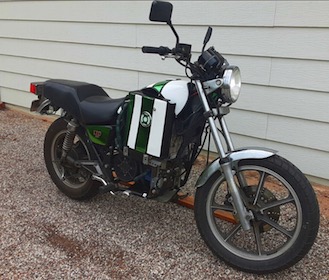
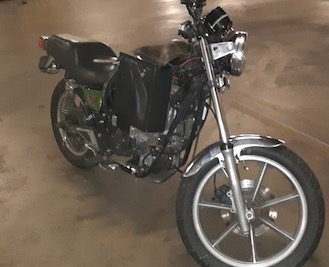
Having finally got the tank back from the shop, and having to smooth out bubbles in the chrome green wrap (i was not charged for the tank wrapping), it was time to start the accents on the fairings. Note that whilte the side panel green appears to be different these are the same color and come from the same roll of vinyl wrap.
So after a few months of using the SAE connection on the charger there’re a few shortfalls I figure I need to change connection type to address.
First problem was having the rubber protective cover to put over then ends slide off sometimes. Not really a big deal if the end of the cable is on the ground but not really good if the end is above the batteries and the exposed metal touches frame or battery metal.
Second problem was noticing that every time I plug it in there’s a spark between when the metal connectors meet.
Third problem is that the SAE connectors are only rated for 30 amps at 12v/24v, not for 30 amps or even 10 amps at 84v, which is the charging voltage. While the connectors held when charging at 10 amps, and the batteries charged faster, the plastic/rubber ends became soft and really warm to touch. When charging at 5 amps the plastic/rubber ends become really warm, but not melty warm.
The C13/C14 connectors are rated for 10 amps at 250V so not thinking there should be a problem using in this application as the 5/10 amp charger came with one with 16 ga leads to use as an adapter to other connectors – and unlike the SAE connectors it did not get melty warm when charging at 10 amps or even warm when charging to 5 amps.
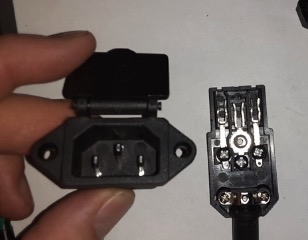
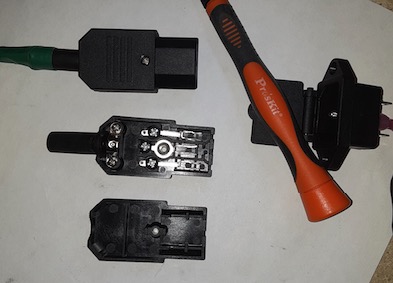
As the SAE solar type connection limited charging to 5 amps I finally got around to upgrading the charging port to a standard C14 connector. This allows me to use any standard C13/C14/C15 extension cable from my chargers and to easily make a female connector for any future charger. The C14/C15 port is rated for 10 amps at 240 volts so it should handle 10 amps at 84 volts fine (it does, the SAE connectors become melty when charging at 10 amps as they are only rated for 30 amps at 24v max, or 8 amps at 84 volts).
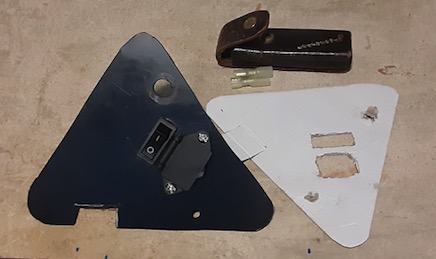
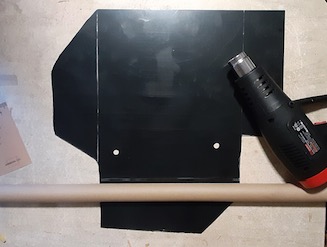
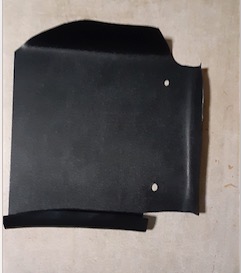
Finished the first version of the battery cover fairings. Straight black for now but will probably add some accent coloring soon.
Made these from 1/16″ inch ABS, a utility knife, heat gun, and wrapping paper roll.
So I was sitting on the bike back on June 19 & feeling that satisfied feeling that you’ve fixed just about everything and you’re ready to roll, then something else happens. The something else was that as I sat on the bike with it running, on centerstand of course, I look down and there’s a puddle of something oozing its way towards my electric bike & charger. Not knowing what this is I turn off the bike, get down and stick my finger in this puddle. Not being careful I also use my left arm instead of my right and promptly burn my arm on the exhaust pipe. duh. Hot pipe = Hot, and Hot is hotter than the Arizona sun …
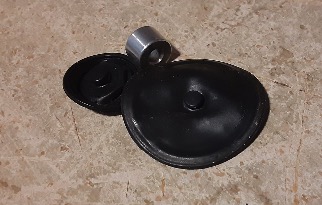
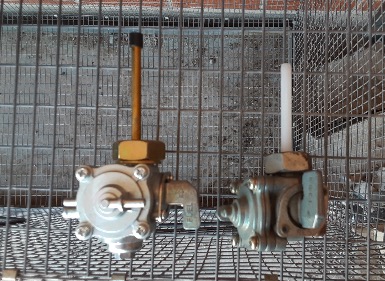
Turns out the puddle is gasoline … hmm … why is there gas coming out the bottom of my engine somehwere … ? Time to call it a day & look again next week … so, that was fast. Here we are next week , July 26, 2021. Sunny day, full of oxygen and carbon dioxide in the air, wonderful morning. Start the bike up again, wait for the gas to come out hte bottom, figure out it is coming from a small diameter black tube, trace it back to the … petcock? Really? What the heck? okay, there’s an overflow on the petcock. What’s it for? When does it leak? It is there to relieve gas build up when the diaphragm in the petcock ruptures …. great.
So … turns out the diaphragm is not flat, or spherical, it is round with a knob on each side, has a metal section in the middle, and another rubber side with a knob in the middle. See pictures below. Amazon/Ebay/the entire internet do not have rebuild kits specifically listing this model so what do I do? I spend $34 buying a new compatible full petcock. Not a bad idea as once i went to install it i found out the vacuum, relief, and output all face the wrong way compared to the current install. What good news is there? Well, the replacement petcock diaphragm section is the same as the existing one from 1981 … so i take it off and put it on the original … and it fits like a glove. Problem solved, now the inputs and output face the proper direction and i have a spare section so i can peruse the internet for similar looking pieces going forwards.

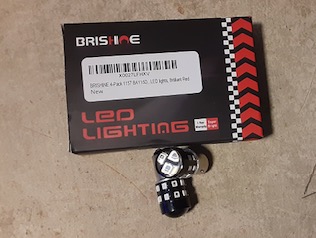
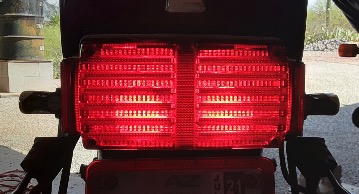
Took out the rather week inandescent rear bulbs, the ones in the brake/running light housing, and replaced with LEDs. Man are these things bright. No mistaking when the bike is on or when the brakes are being applied. Ordered from Amazon & prime delivery.
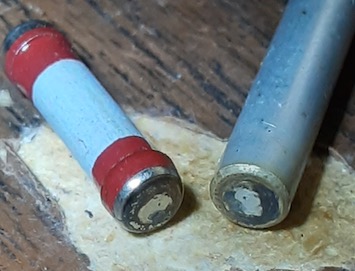
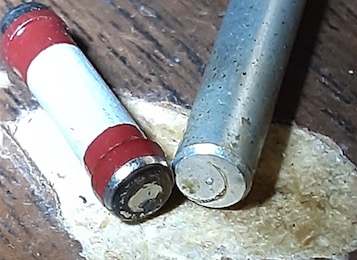
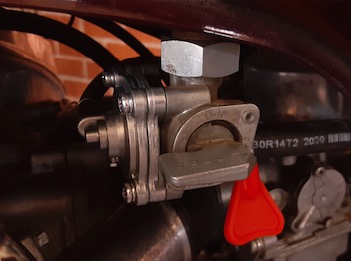
So a while ago I figured out I have spark problems on the right cylinder. Kind of odd as as soon as I pull the spark plug cap off by about an inch there is great spark. General theory is this is a sign of weak spark and there’s a weak point in the system … somewhere. Also seems to be a recurring mystery via CX/GL forums that new spark plugs, new coils, new caps, new cabling doesn’t seem to fix so it could be a general grounding matter with the whole system and not related.
Anyway, I took the right spark cap off, took it apart, and cleaned it. Before and after pics below. The first time I put it back in it fired right up. Problem solved, I thought, thinking it just needed to be cleaned. Until I let it sit for a few days and tried again in the morning …. cold start … pull out about an inch and instant spark … Oh well, back to the drawing board as they say.