Carbs and tank off. Ready to tackle the cylinder head cover & camshafts.
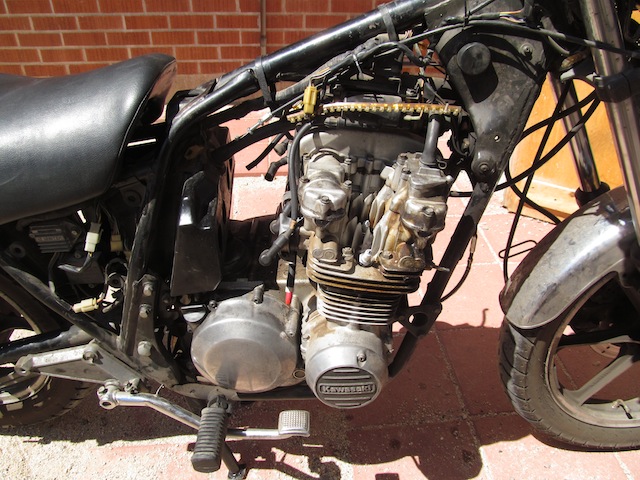

Carbs and tank off. Ready to tackle the cylinder head cover & camshafts.
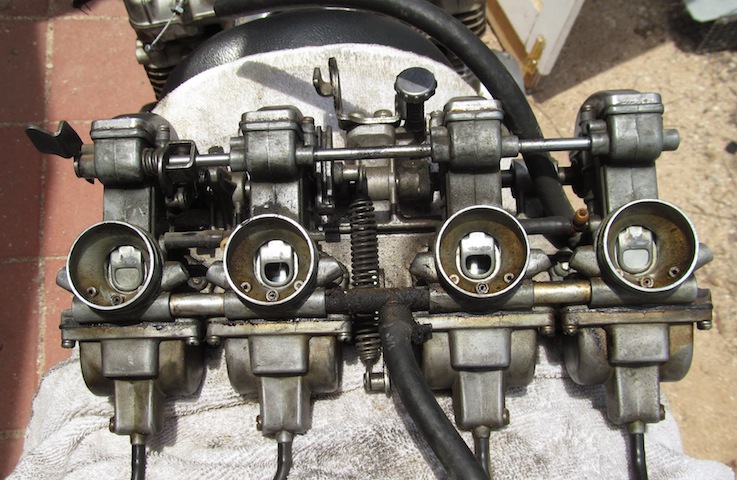
Pulled the carbs off on Wednesday (8/14/13). Note the missing flaps on the slides on #2 & #3. These are brittle & when the holding pin works its way loose the flapper, pin, and spring call all make their way into the combustion chamber as can be seen a couple of posts from now. If you’re lucky they pass through quickly and exit via the exhaust without causing too much damage. If not they get pulverized & stuck in the valves/pistons.
Note: I did not find this to be the royal pain in the ask that most internet forums make it out to be. A little time consuming but if you work at steady pace & don’t feel rushed or like it should fall apart like wet butter it actually comes out pretty easy. Just take out bolts you’re supposed to/or loosen, roll springs on back carb holders (remove said carb holders if you feel like – easier to pull into air box), tap away from front with rubber mallet & then pry slowly away from front with 1/2″ ratchet handle (requires very little pressure).
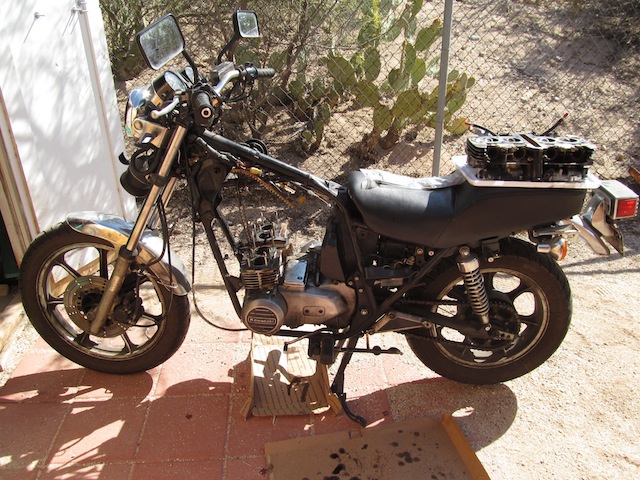
What it looks like now (August 17, 2013)
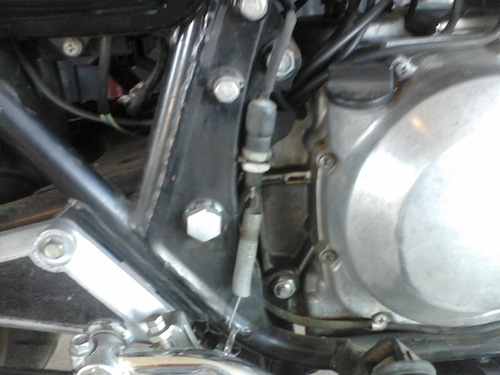
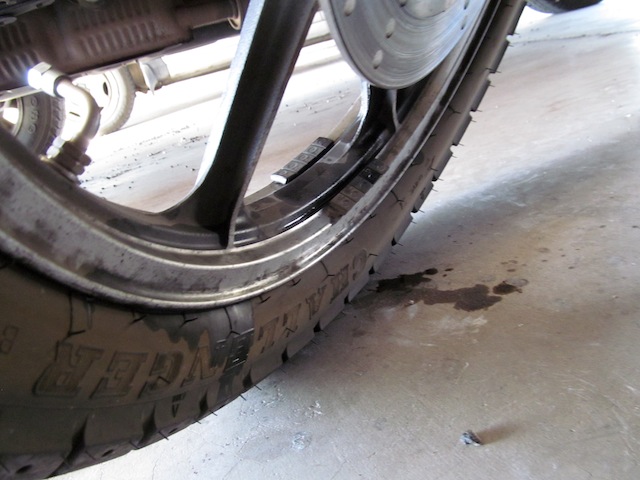
The slow oil leak that has surrounded my fork oil caps decided to expand yesterday. Went for a ride & noticed I was having trouble braking … figured it was just old brake pads. Went out this morning to go to the pobox & noticed oil on the ground by my front tire. Yep, oil dripping down from the fork seals onto the rim, then onto the brake pads. Nothing wrong with the pads, just that they have oil on them.
Found this nice tool online called SealMate (and it is not for seals) that you can insert into your fork seal, rotate around the tire (be careful not to crimp the tool), pump the handlebars about 10 times to reseat the seals & problem solved. This works really well if your fork seal is not damaged, just if it is dirty. What it does is pull the dirt out from under the seal so when you pump the handlebars the seal is reseated – no more leak. Have since learned that you can use one as a template & cut more as you need them from 2-liter or 3-liter soda bottles. 1-liter bottles probably work well too.
Added a voltmeter to the bike today after having to replace the battery. Unfortunately it is not water proof (will need to change out one day), but it works for now.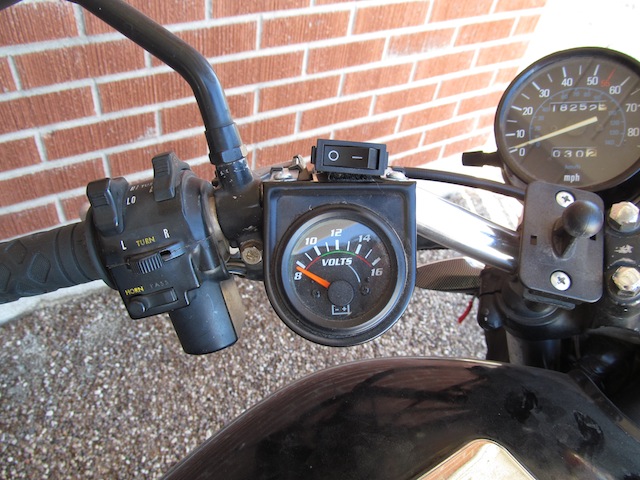
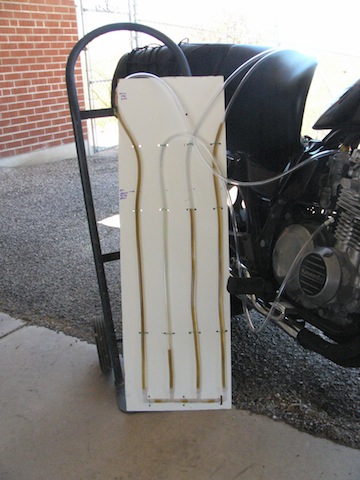
Somehow got it in my head that making a home made anemometer to sync my carbs was a good idea. In principle this will work if the fluid you’re using is a) heavy enough, and b) your carbs aren’t so out of balance that when you turn the bike back on the cylinder with the most vacuum sucks the fluid right into the engine.
Ended up just buying a set of 4 gauges online for about $65. Works fine & easy to use. But for kicks, this was the “home made $1.50 carb sync tool” you can find on the internet.
It’s always a little disheartening when you go to get on the bike & are looking it over to see if some motorcycle gnome has come for a part in the night & you realize, man those tires sure are cracked. Noted this morning that both tires have more cracking in them than I feel comfortable when riding if I know they’re there. And I know. Had to a) put on the center stand, b) jack up the front of the bike, c) drop tires off at a place that will do motorcycle tires & then d) wait for them to be ready.
Found out the front tire’s slow leak was due to a previous owner putting an inner tube into a tubeless tire. Fixed that. Tire on front was manufactured back in 2006 and the tire on the back was manufactured in 2005.
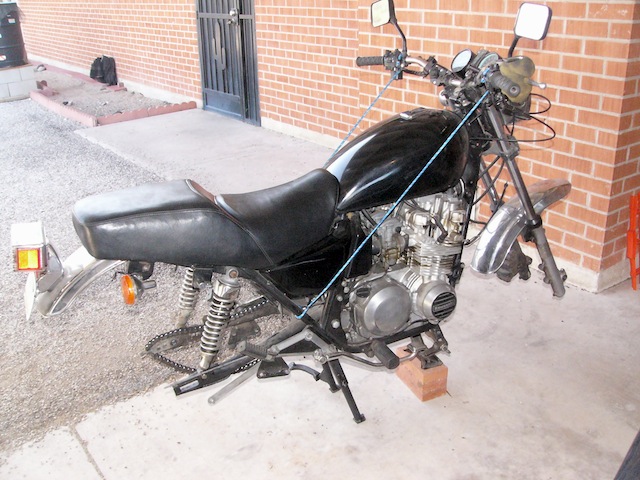

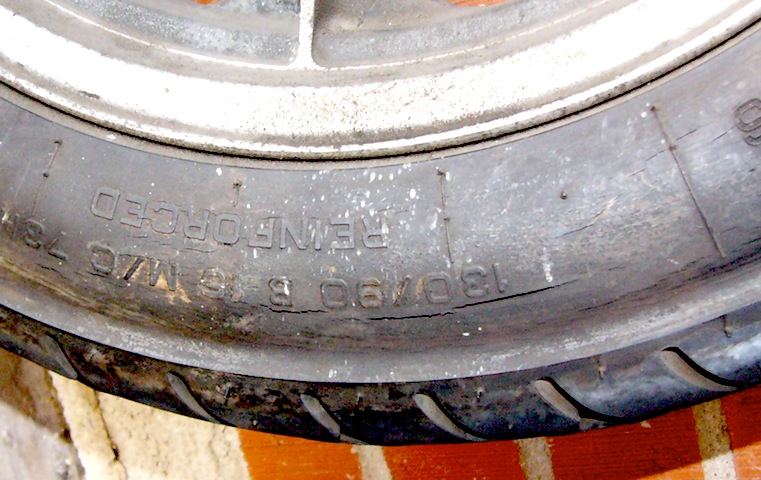
So I just happened to look at my front tire the other day & realized how cracked it is. Just for kicks I also checked the rear tire and it wasn’t quite as bad with cracks long ways but had a few deep ones the short way. Checking on the age of the tires reveals them to have been manufactured in 2005 (back) and 2006 (front). Pretty old for a set of tires. The front one’s always had a slow leak so I’ve had to put air in it every week. Picture is my method of jacking the bike up – put on center stand, put bricks under front of crankcase, tie handlebars back with bungee cords (and put sponge between brake lever & grip to keep brake pads from being pushed out).
Noticed my brake light wasn’t coming on all the time, even after changing bulbs. So what do I see when i open up the seat & finally get that 30 year old plastic connector separated? A slightly melted connector. This was making intermittent contact between the wires. Solution, cut the connector out & simply connect the wires directly with bullet clips.

This has been a busy month for broken/if it’s not broken fix it things. I noticed the brake light kept staying on all the time, even when I wasn’t moving. The culprit – the rear brake switch (right foot pedal) spring has sprung. No matter how it is adjusted it just keeps staying in the on position instead of springing back to off when the brake is released. Solution, remove spring & connector. Brake light no longer works when only using rear brake but since I always use the front brake as well it is not a big deal.